Wordpress W3 Total Cache-Best W3 Total Cache Setup

Wordpress W3 Total Cache - Best Wordpress Cache Plugin
If you are new to wordpress blogging, or are a experienced blogger. The best wordpress cache plugin will help speed up the loading time of your blogs content, making sure that a slow loading blog doesn't lose you some traffic.
The Plugin that I use for caching when I am setting up blogs for my customers is Wordpress W3 Total Cache. Out of all of the Caching plugins that I have tried over the years this one gives me all of the control needed to greatly increase my customers blogging search engine optimization.
Wordpress W3 Total Cache Best Setup And Settings
After you have done the setup and settings for the Wordpress W3 Total Cache plugin it is pretty much hands off and let it do it's job for you.
This great cache plugin works in conjunction with another one of the plugins that I wrote a hub about auto link related post.
How these two plugins work together is Wordpress W3 Total Cache will take your new related post and rotate them onto your pages. Giving your blog great internal linking and gives your visitors an option to read more of your content easily.
General Settings For Wordpress W3 Total Cache
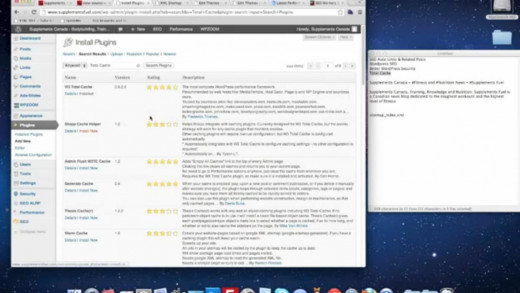
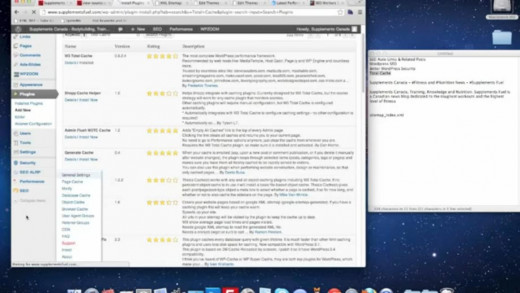
Go back to your wordpress blogs control panel page and towards the bottom you will see a new line called performance click on it and then click general settings and a page will open up.
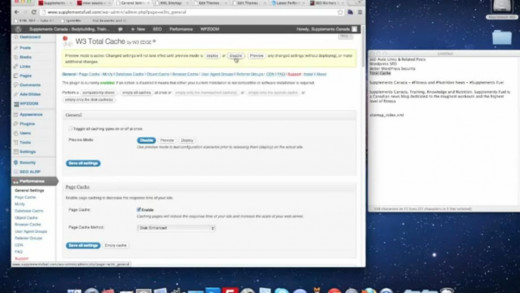
Look on the top of the page and if you see a yellow box that says private mode is active go to the right you will see three buttons deploy, disable, preview make sure to click the one in the middle marked disable. And the box will disappear.
Follow these settings that I list below and it will have your new Wordpress W3 Total Cache plugin working at it's optimum.
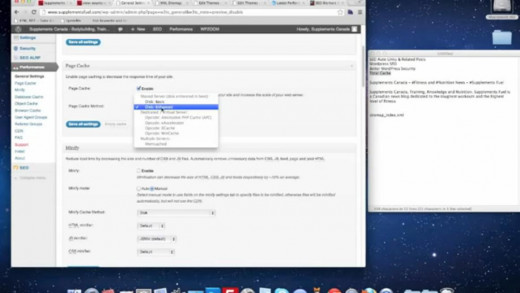
- Under page cache you want to enable it.
- Do Not enable the Minify.
- DO Not enable Database Cache.
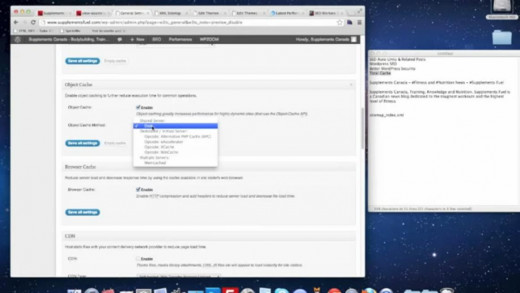
- Under object cache you want to enable it.
- Under browser cache you want to enable it.
- Do Not enable CDN unless you have and can configure it.
- Now go to Miscellaneous and uncheck all 4 of the boxes.
- Then you save your settings.
- Go to the top of the page and there will be a new yellow box Empty the page cache click the button.
Final Settings To Make Wordpress W3 Total Cache Work Optimum
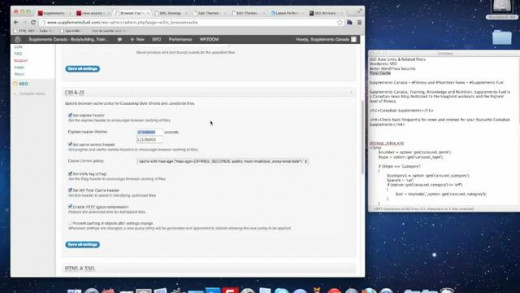
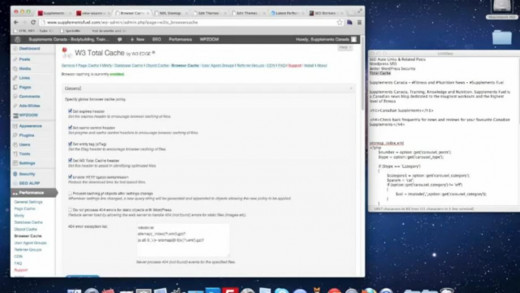
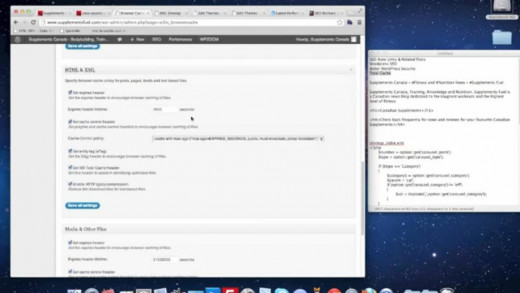
In the performance tab look for browser cache and go to it once it opens under general check the first 4 boxes. Then skip the last 2 as pictured below.
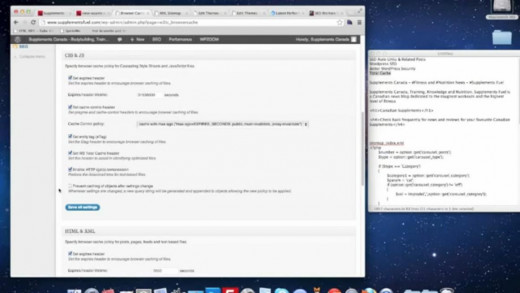
Under HTML & XML make sure all of the boxes are checked.
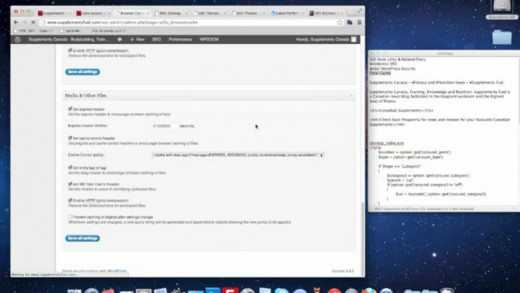
And last but not least under Media & Other Files check the first 5 and leave the last one unchecked. As you can see in the picture below.
Paying Forward A Little Bit Of The Wealth
I hope that my hub has help you in a small way. Please take this as well used and experienced use of the Wordpress W3 Total Cache plugin. I know with this great plugin and these settings your wordpress blog will see better results in your Seo scoring.